


Painting Process
- Mar 16, 2017
- 2 min read
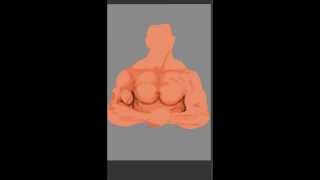
A while back I spent a lot of time doing photo and semi photo realistic painting and I thought it would be interesting to share the experience and show people the build up to a final image. The final image wasn't amazing sadly but I still think the process worked over all and it is something that I would try again.
Due to how long the process took it was spread over 3 videos, for this particular painting I actually used the "dodge" and "burn" tools that many art packages come with. There was only a minimum about of "paint" applied to the image as the dodge and burn tools did the rest. It was a technique I hadn't tried before and I actually liked how it worked, though the final image wasn't something I was overly proud of it was a good learning experience. I can now use the dodge and burn tools either along side more traditional shading methods or entirely on its own should I want to get a certain effect.
As an artist it is always good to learn and try new ideas to improve a picture, or to speed up a process or to make the process enjoyable or better in some other way.
My tip for using the dodge and burn tool is to lower the "pressure/flow/strength" what ever the art package calls the amount it is applying to the picture incredibly low. I had mine at 8-10 for much of the early work. Also be aware that there are 3 "settings" on the tool for shadows, mid tones and highlights and you will want to consider those as you apply your cover.
If you are looking to AO (Ambient Occlusion) or similar lighting techniques then the dodge and burn tool can be very handy for this type of work.
Comments